On Shopify Store Where Do You Upload Pictures on the Collection Page
When starting your career as a online store possessor, one of the nearly important matter you already have to know about the business is the essential of adding information, such as uploading an image file to your online store content. It tin can exist whatsoever between your products, collections, weblog posts, or even your shop's customed webpage and blog. Past adding soft data into your online store content, you not but can proceeds your shop's reputation with copious contents, but also could assistance the customers to know most your shop and your products better as every of your store's details are free to access.
According to majority's stance, the most appealing form of information is the images. Just by looking at the images, people tin easily go to fully know most the product'due south characteristics, and to make choices based on what they need in the production they are seeking for. Understading this need for both the shop owners and the customers, Shopify has applied a characteristic chosen Upload image files and then that the images tin be fast and easily added into the store content, and make a manner for the shop owners and the customers to converse cleverer and easier.
Yet, even when the function has already came into sight for a long fourth dimension, many of the shop owners still practice not know about this quick yet effective pick to make their business brighter just by adding images. A detailed stride-by-footstep tutorial is also lacked which makes it harder for the users to put the office into practice.
So today, I will tell you the most easy way of How to upload an image file to your online store content on Desktop.
Users with a iPhone or Android device can likewise follow my tutorial to upload your wanted image files to your online store content.
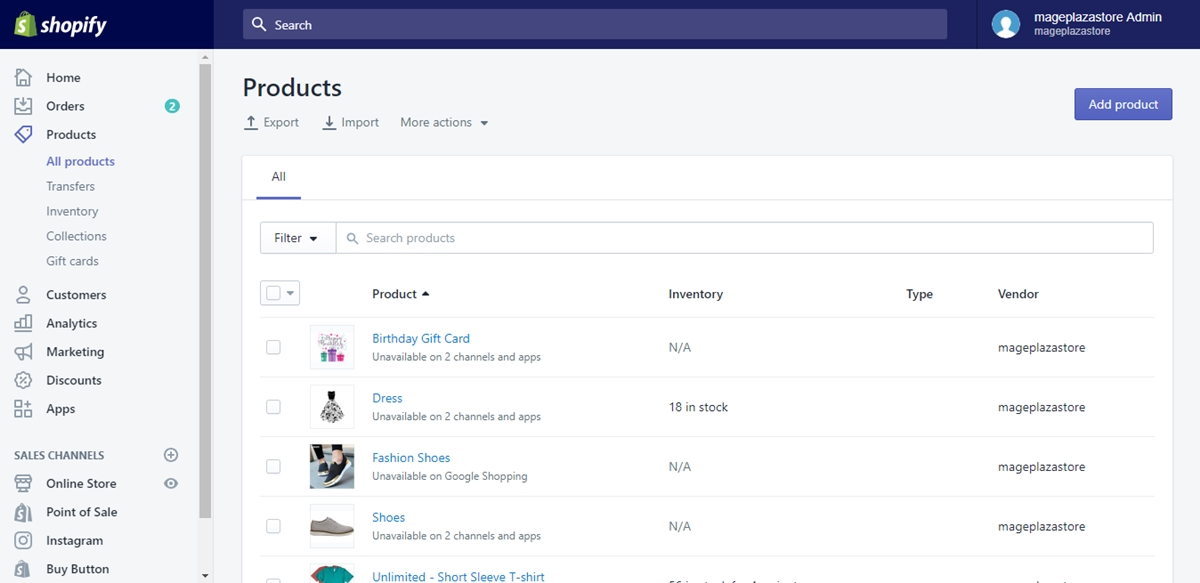
Step one: Choose content {#cull-content}
Enter Shopify and log into your shop owner account. After logging in, choose the content field that you lot desire to add the image files into. It tin be a production, collection, blog posts, or even your webpage, or even your blog mail. Past choosing the content that yous want to add the prototype files into, the images can exist attached exactly into the content.
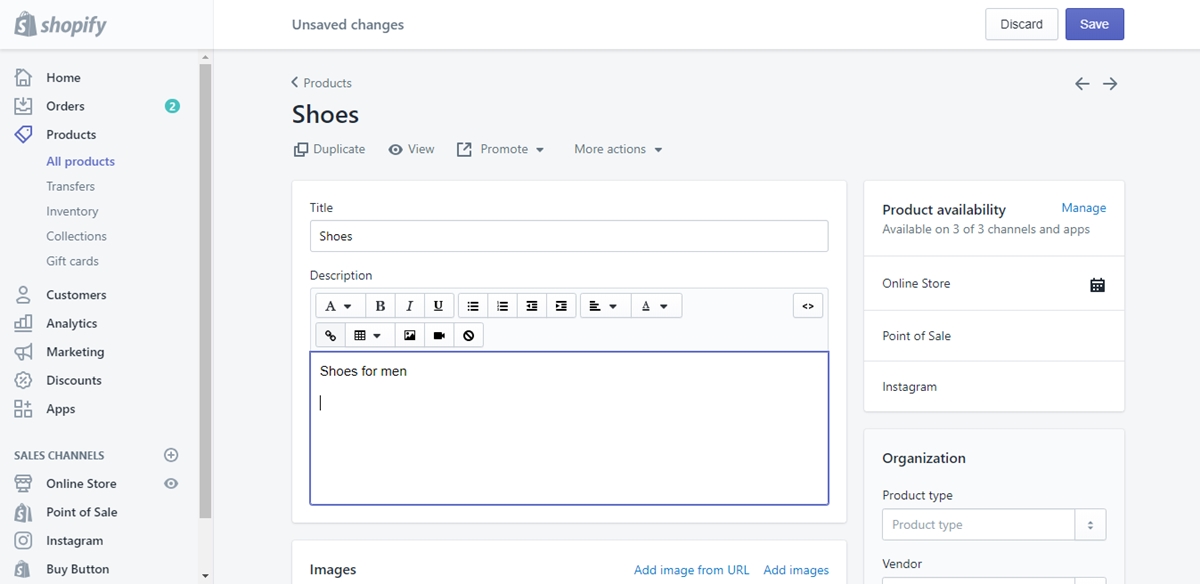
Footstep 2: Place cursor {#place-cursor}
Afterwards choosing your wanted content, y'all will be directed to the content editing page. In your content editing page, place your cursor at the location where you want the prototype to be exactly attached into. This will help your image to be displayed at the correct place every bit yous wanted.
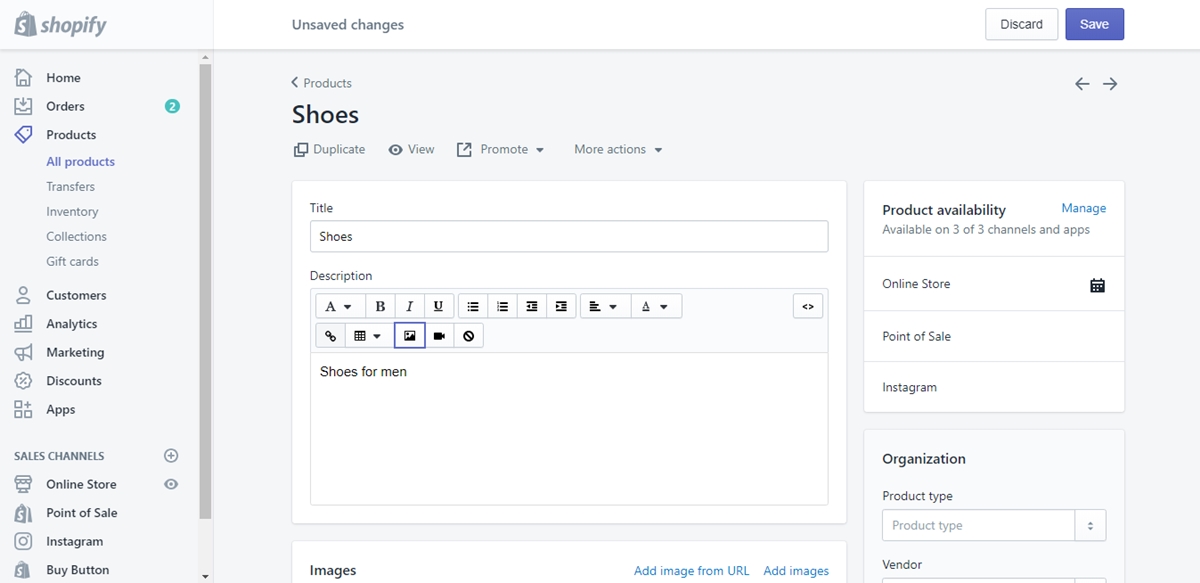
Pace 3: Click Insert prototype {#click-insert-image}
Click on the Insert image button in the editing box. It's a motion-picture show-shaped symbol that shows upwards in the tool bar which was placed right in a higher place the content displayer.
Step 4: Click Upload file {#click-upload-file}
After clicking the Insert paradigm button, you lot volition come across the Insert image box shows upwards. It displays the image files that yous have already uploaded. Click on the Upload file push button to upload your new file or choose 1 in your available images displayed in the Insert epitome box.
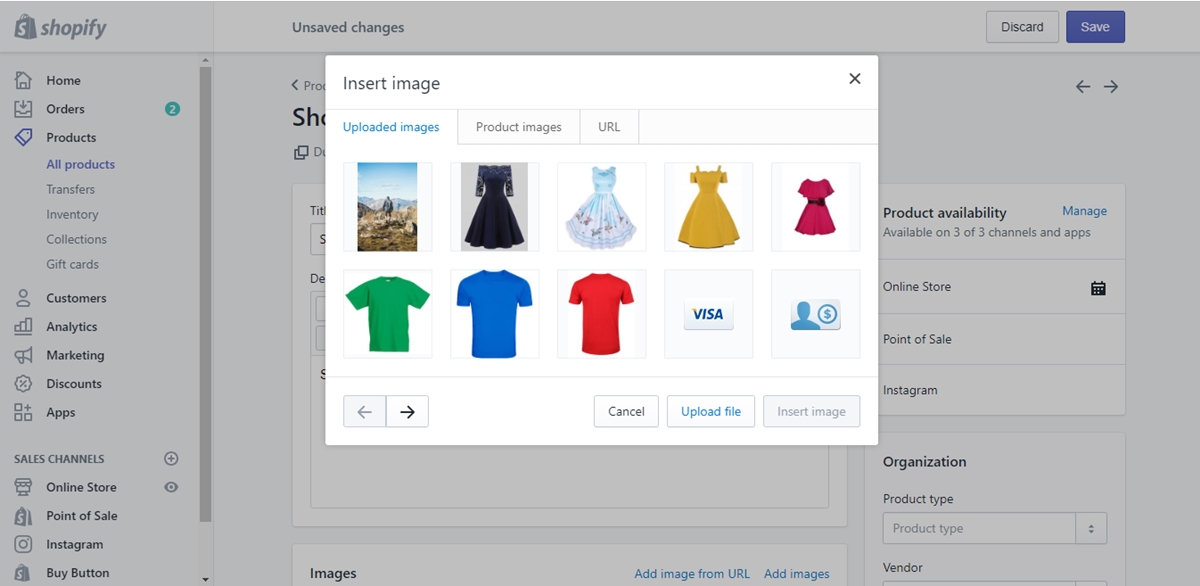
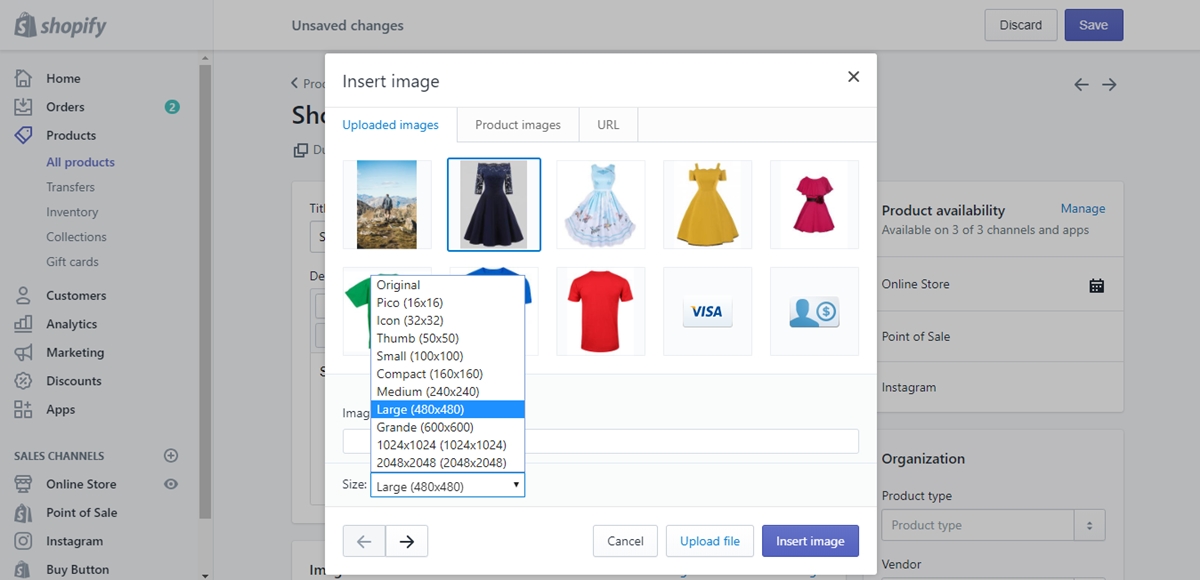
Footstep five: Select image {#select-image}
When you are done selecting your image, at present move into the prototype customing session. Select your wanted image in the Uploaded images tab and choose your paradigm'south size in the Size field.
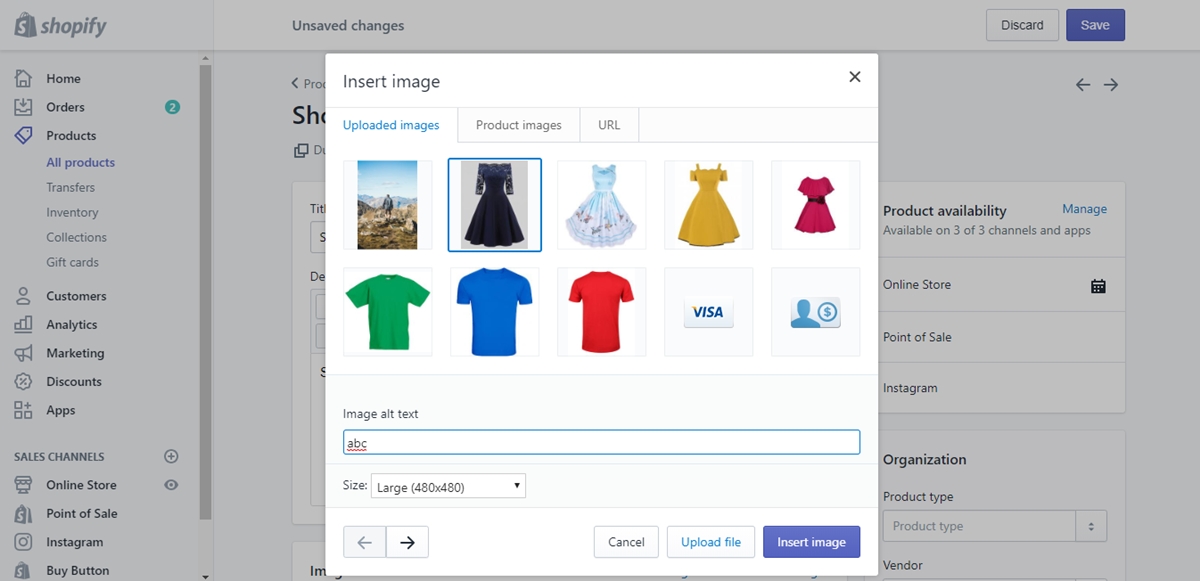
Stride 6: Add alt text {#add-alt-text}
This is an optional nevertheless recommended step if you want to gain the content's reputation. Add your epitome alt text in the Prototype alt text field to increase your content'southward rank in search engines.
Footstep seven: Click Insert image {#click-insert-prototype}
Finally, click on the blue Insert epitome push button on the lesser correct of your Insert image box. Subsequently clicking on the button, the image will exist perfectly fastened into the place where you put your cursor on before.
Conclusion
To wrap upwardly, I would like to say that uploading an image file is an activity that does non cost too much of work merely is so effective yet essential to your business. By knowing How to upload an epitome file to your online store content on Shopify, you will not only gain your store'southward reputation, only can as well increase your auction rates as the customers go a take chances to know better about your shop and your products. I promise you lot volition find today'southward tutorial helpful and will use this function equally a perfect tool to develop your online sales channels.
Related Posts:
- Add together a Production Image on Shopify
- Upload Images With the Rich Text Editor on Shopify
Source: https://blog.avada.io/shopify/docs/how-upload-image-file-online-store-content-shopify.html
0 Response to "On Shopify Store Where Do You Upload Pictures on the Collection Page"
Post a Comment